Creating a Billing Meter With Recurly
If you’re looking to monetize your APIs or your application, metered billing could be a perfect solution. With metered billing, users usage is tallied up throughout a designated period and that is how they are billed. Billing meters automatically meter the usage for each company and charge your customers via Recurly. They support a variety of billing models including prepaid, postpaid, Pay As You Go (PAYG) and more. If you have different features or metrics you need to charge on, you can create multiple meters in Moesif, each linked to a different Product and Price in Recurly. The integration also syncs subscription and revenue data from Recurly to Moesif so you can understand how API usage translates to revenue.
A graphical overview of the process looks like this:

In this walk-through, we will create a very simple billing meter that integrates and publishes usage data to Recurly.
To follow this guide you will need:
- A Moesif account and successful integration with your API(s)
- A Recurly account
There are a few steps after you’ve integrated with Moesif to get you to the point where you can collect revenue. These steps include:
- Setting up plans and add-ons in Recurly
- Adding the Moesif webhook to Recurly
- Plugging the Recurly API details into Moesif
- Configuring the billing parameters in Moesif
- Activating the billing meter
Let’s get started!
Step 1: Setting Up Plans and Add-Ons in Recurly
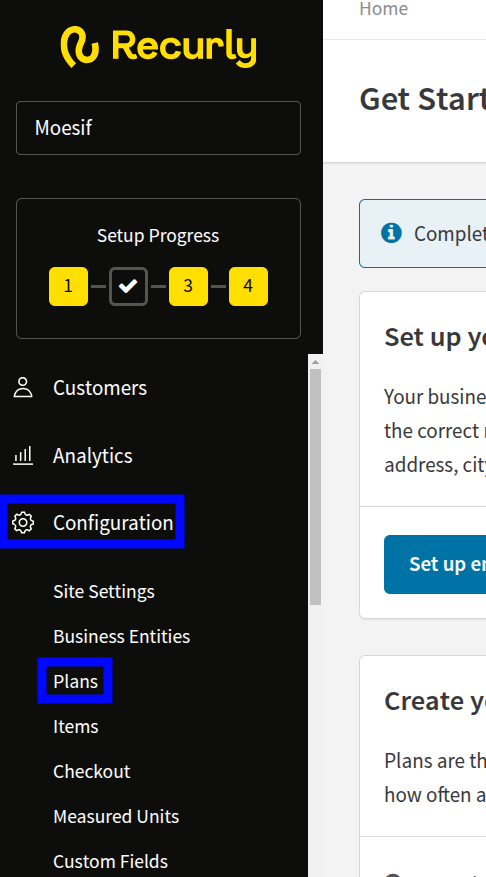
The first step to monetizing is to actually set up some plans in Recurly for usage to be billed against. To set up a plan in Recurly, select Configuration and then select Plans in the navigation pane.
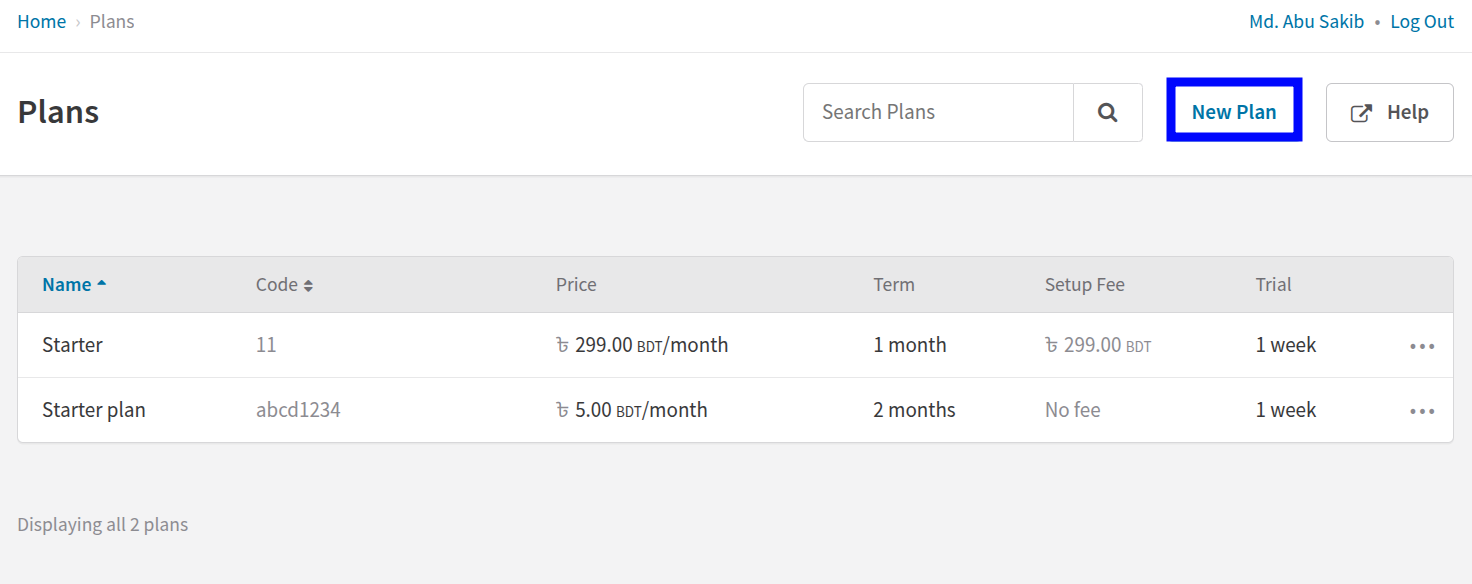
In the Plans screen, select New Plan.
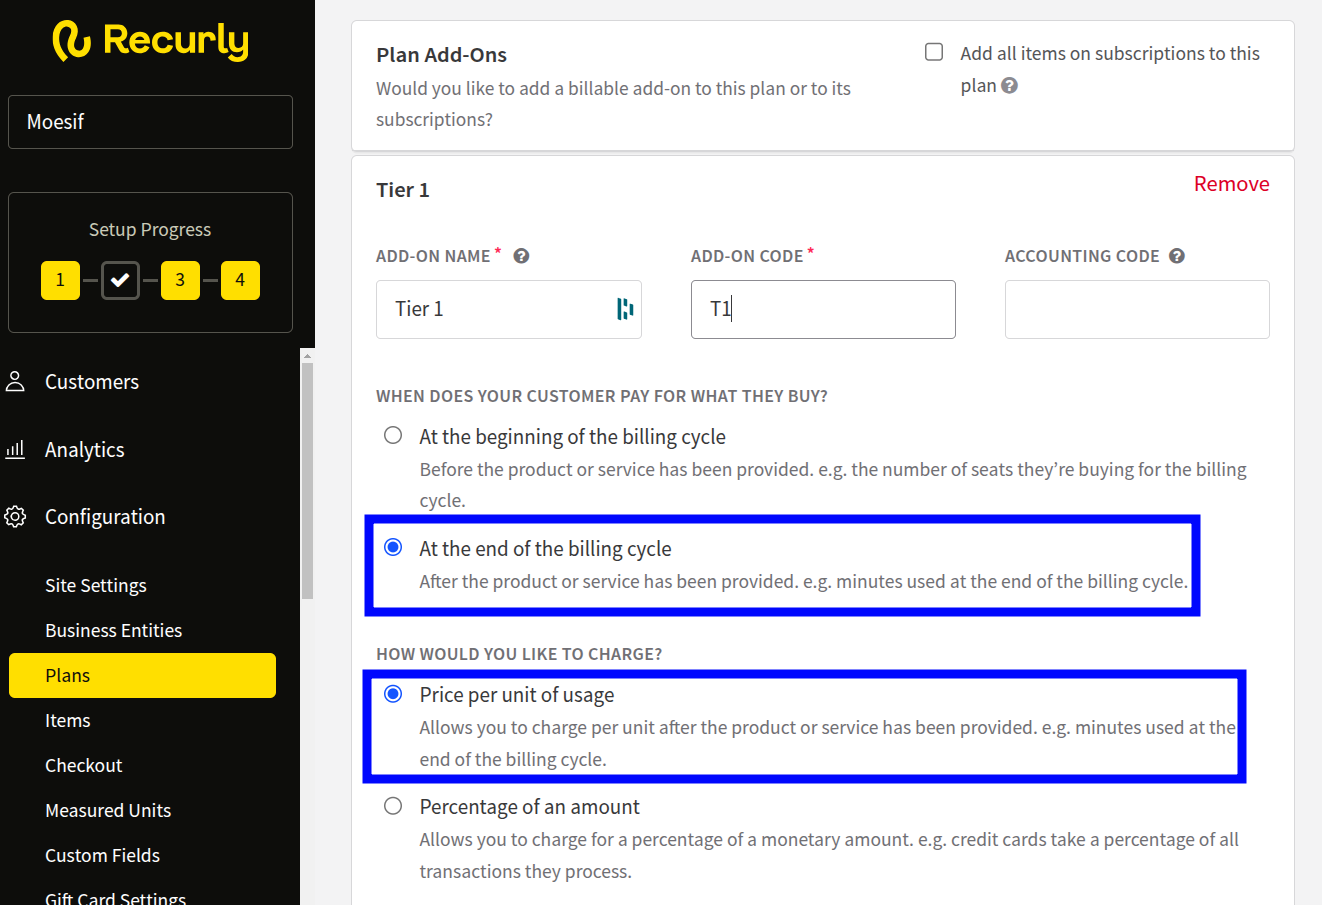
The plans can contain whatever configuration you need, but you must ensure that at least one Add-on is created. The add-on must be configured as:
- Customer to be billed at end of the billing cycle
- Charges are based on price per unit
Configuring this in a Recurly plan will look like this:
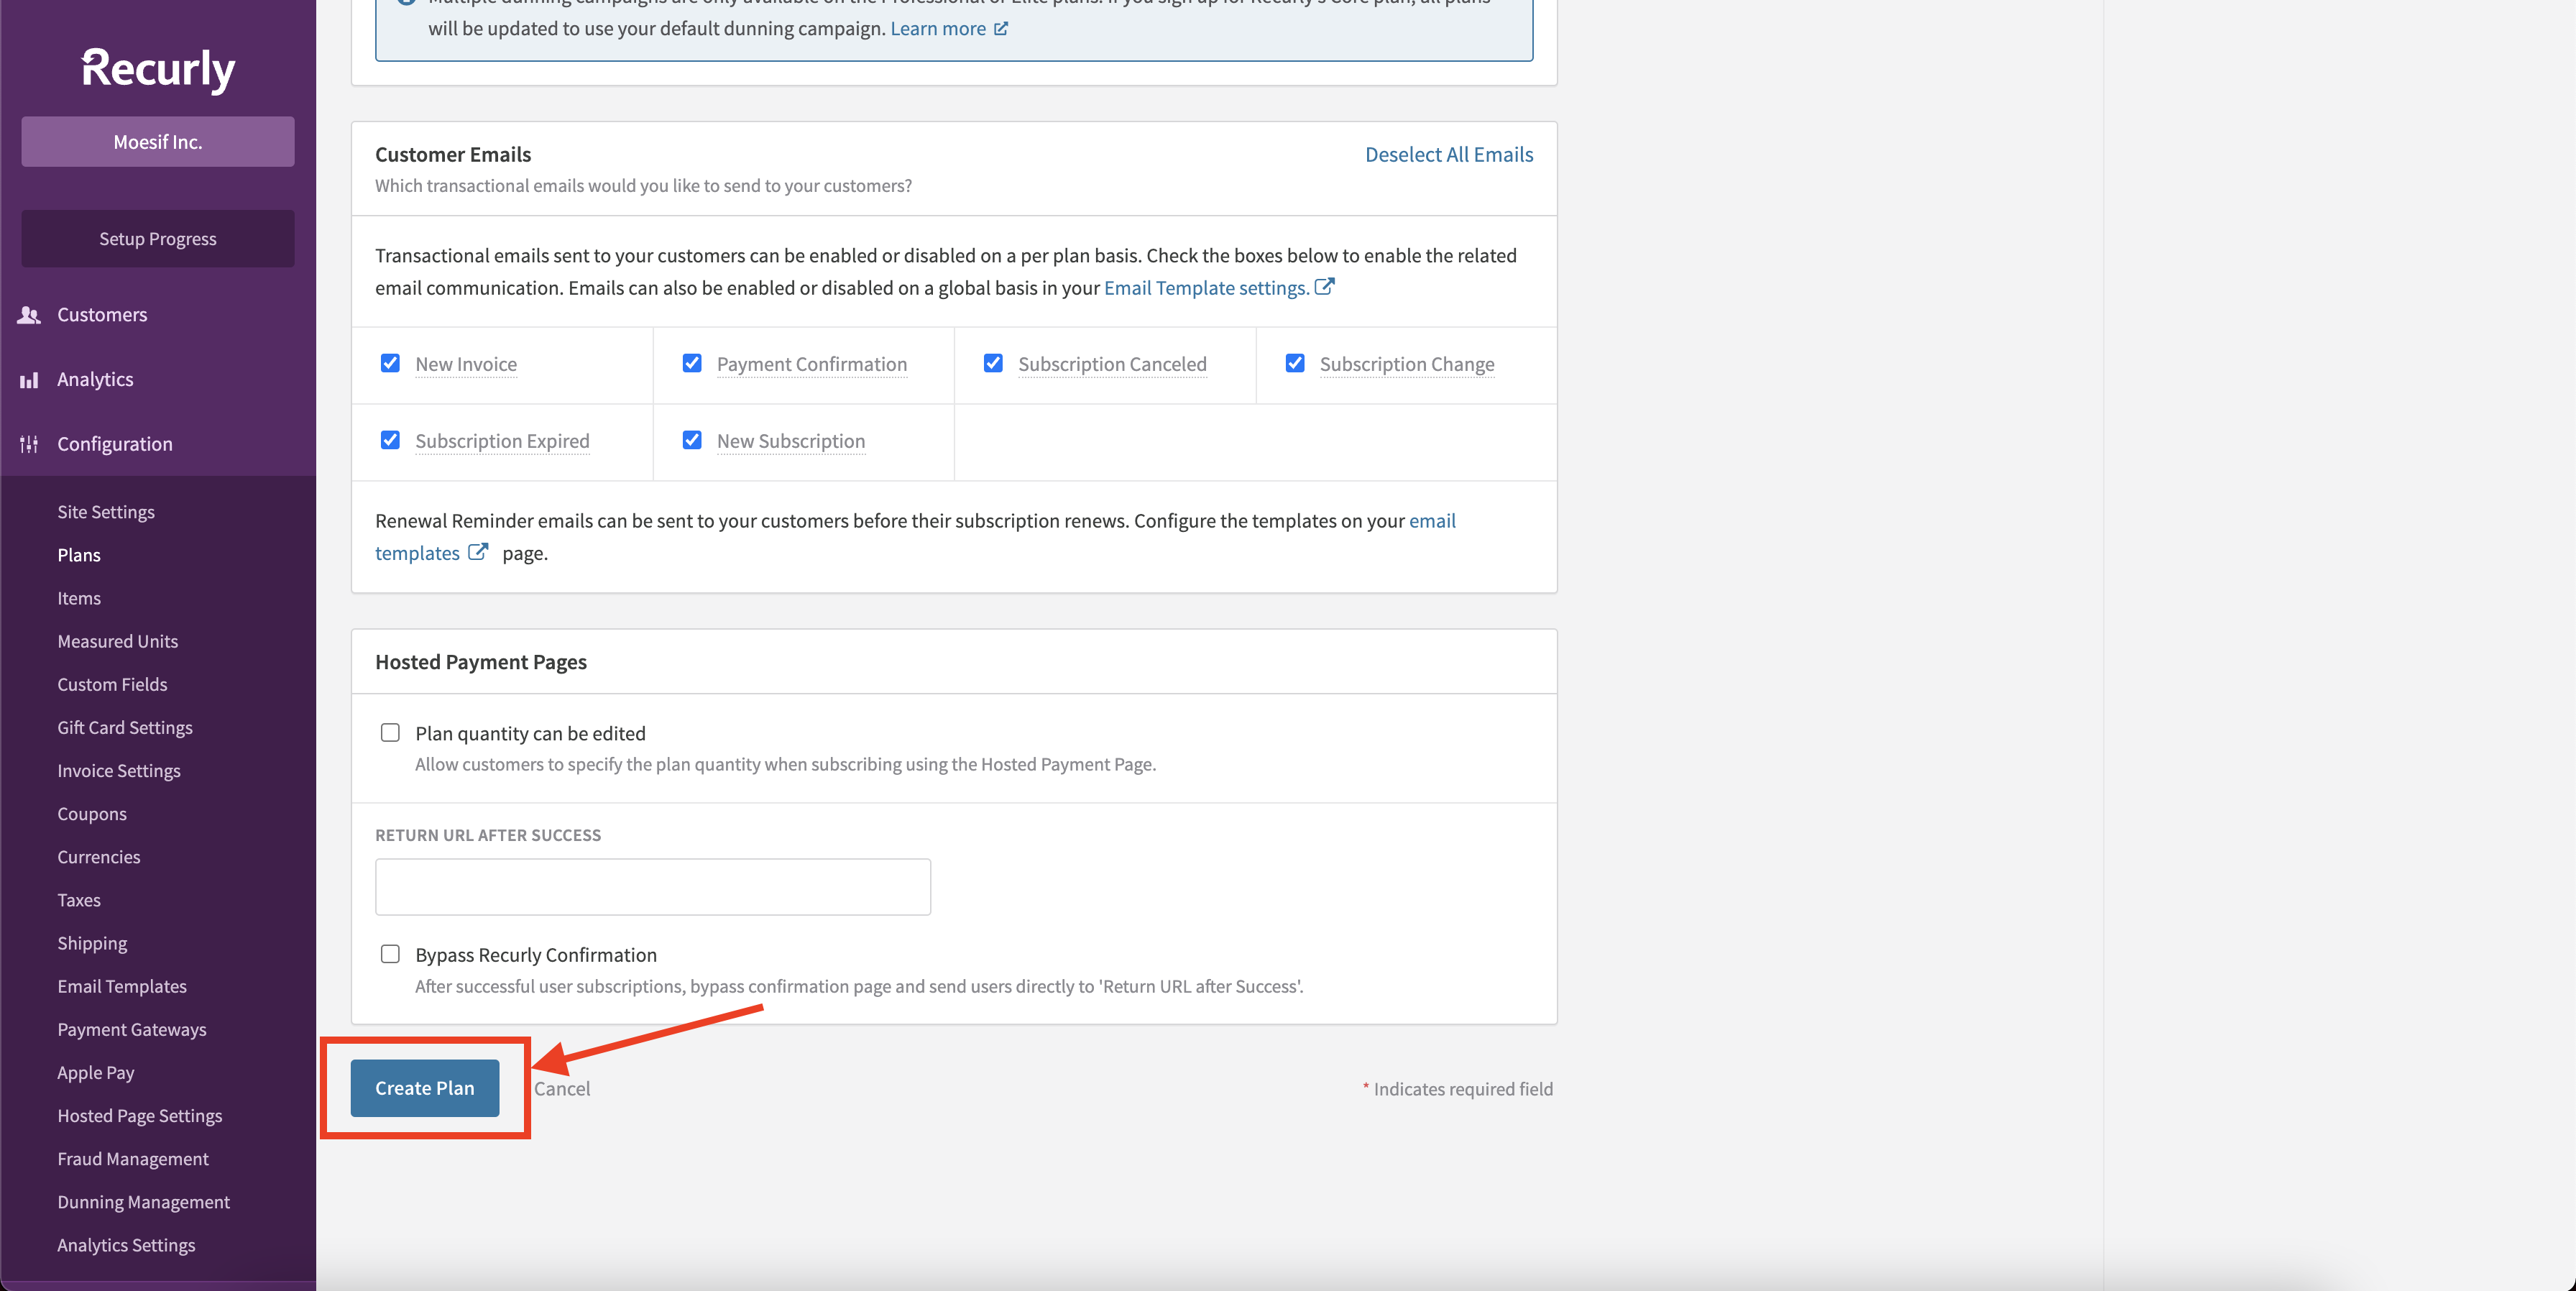
Once your plan is configured, select Create Plan at the bottom of the screen.
At this point, we now have a plan that we can integrate with Moesif and begin billing for usage.
Step 2: Configuring Recurly in Moesif
Once your plans and add-ons are created, it’s time to begin to integrate Recurly with Moesif. To begin configuring Recurly in Moesif, follow one of these methods:
Access From Account Settings Menu
- Select your account icon to bring up the settings menu.
- Select Extensions.
- Search and select Recurly.
Access From Billing Meters Page
- Select Billing Meters in the navigation menu to open the Billing Meters screen.
- Select Edit Billing Providers dropdown
- Select Recurly.
Access From New Billing Meter Creation Page
- Select Billing Meters in the navigation menu to open the Billing Meters screen.
- Select + Add Billing Meter.
- Select Set up Recurly from the Select Billing Provider dropdown.
Step 3: Adding the Moesif Webhook to Recurly
Adding the Moesif Webhook to Recurly
After logging into your Recurly account, follow these steps to add Moesif webhook endpoint to Recurly:
-
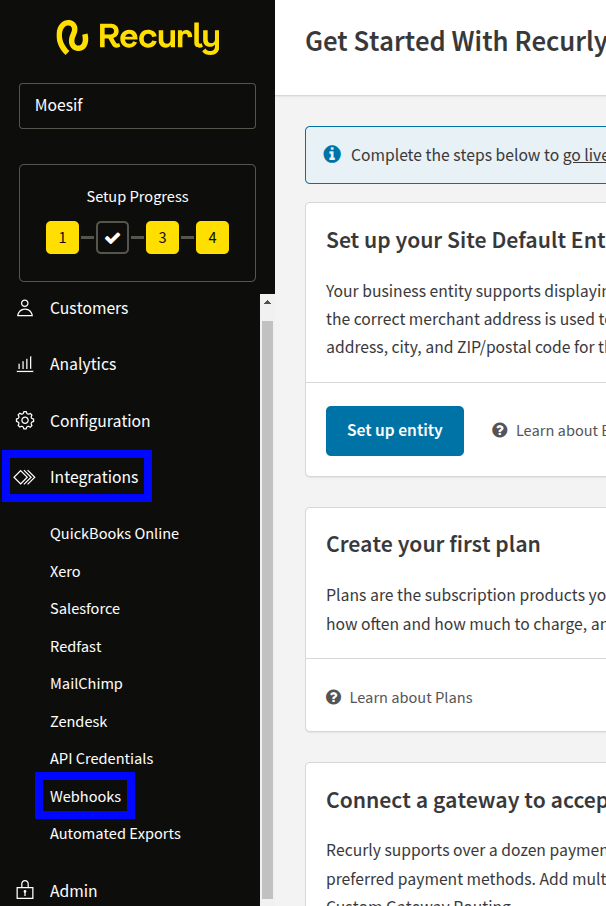
Select Integrations and then select Webhooks in the navigation pane.
![Example]()
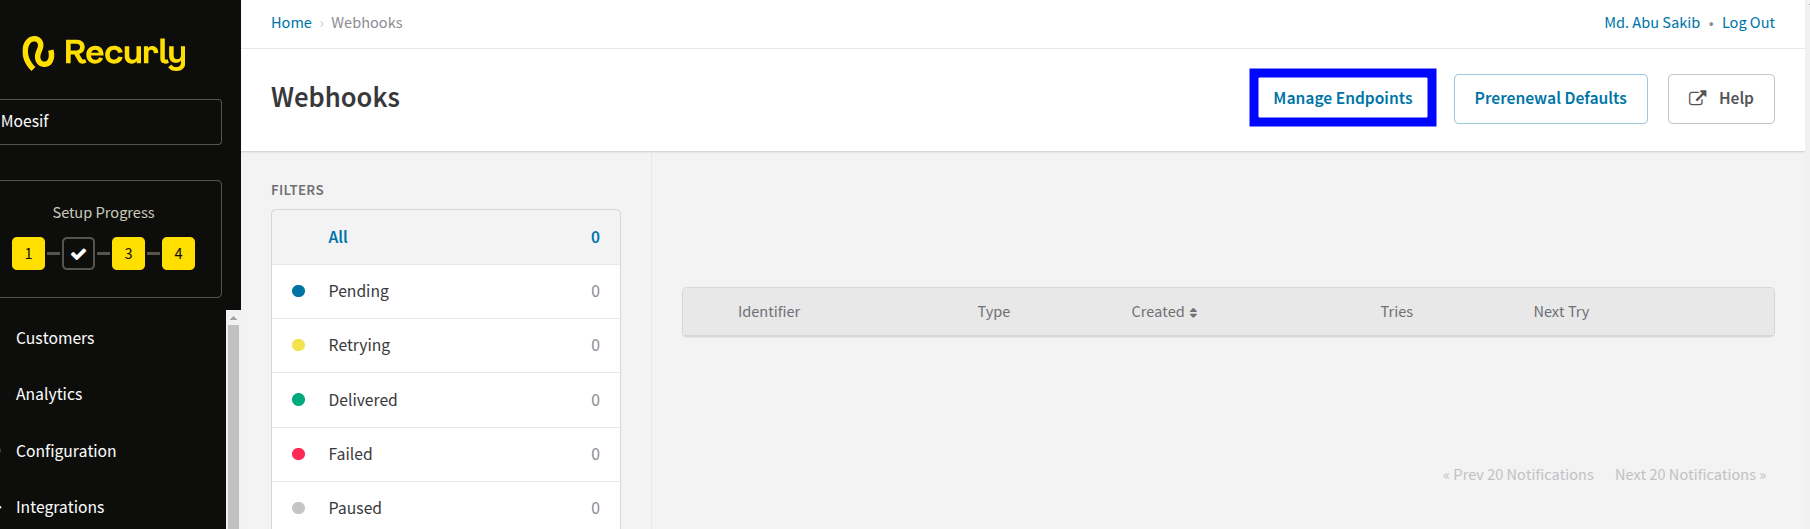
- In the Webhooks screen, select Manage Endpoints.
![Example]()
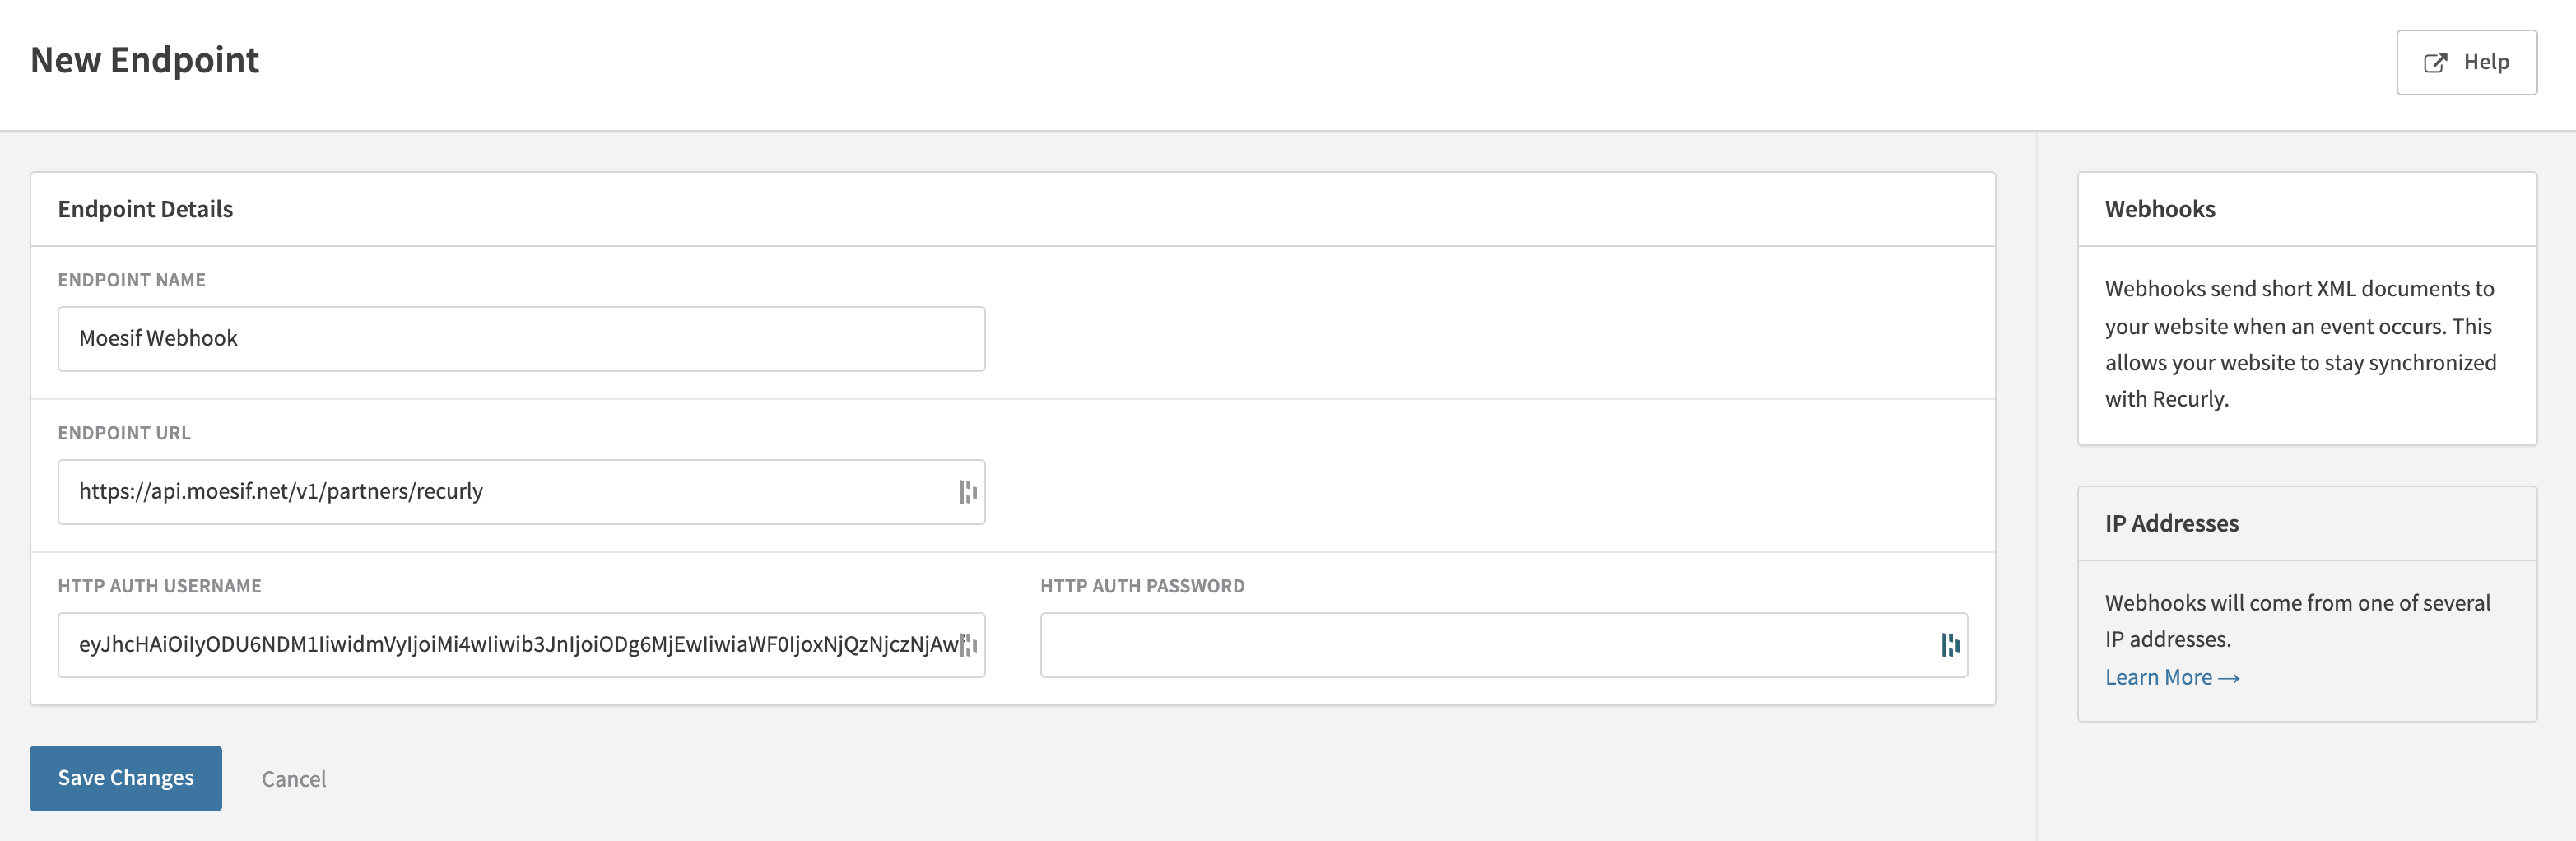
- In the Webhook Endpoints screen, select New Endpoint.
- In the New Endpoint screen, enter the endpoint details:
- Enter a name for the endpoint,
- Enter Moesif webhook URL in the ENDPOINT URL field and your Moesif Application ID in the HTTP AUTH USERNAME field. Leave the HTTP AUTH PASSWORD field blank.
Remember that you can get these details from the Recurly configuration dialog in Moesif.
![Example]()
- In the Notifications pane, select all notifications associated with account and subscription.
- Select Save Changes.
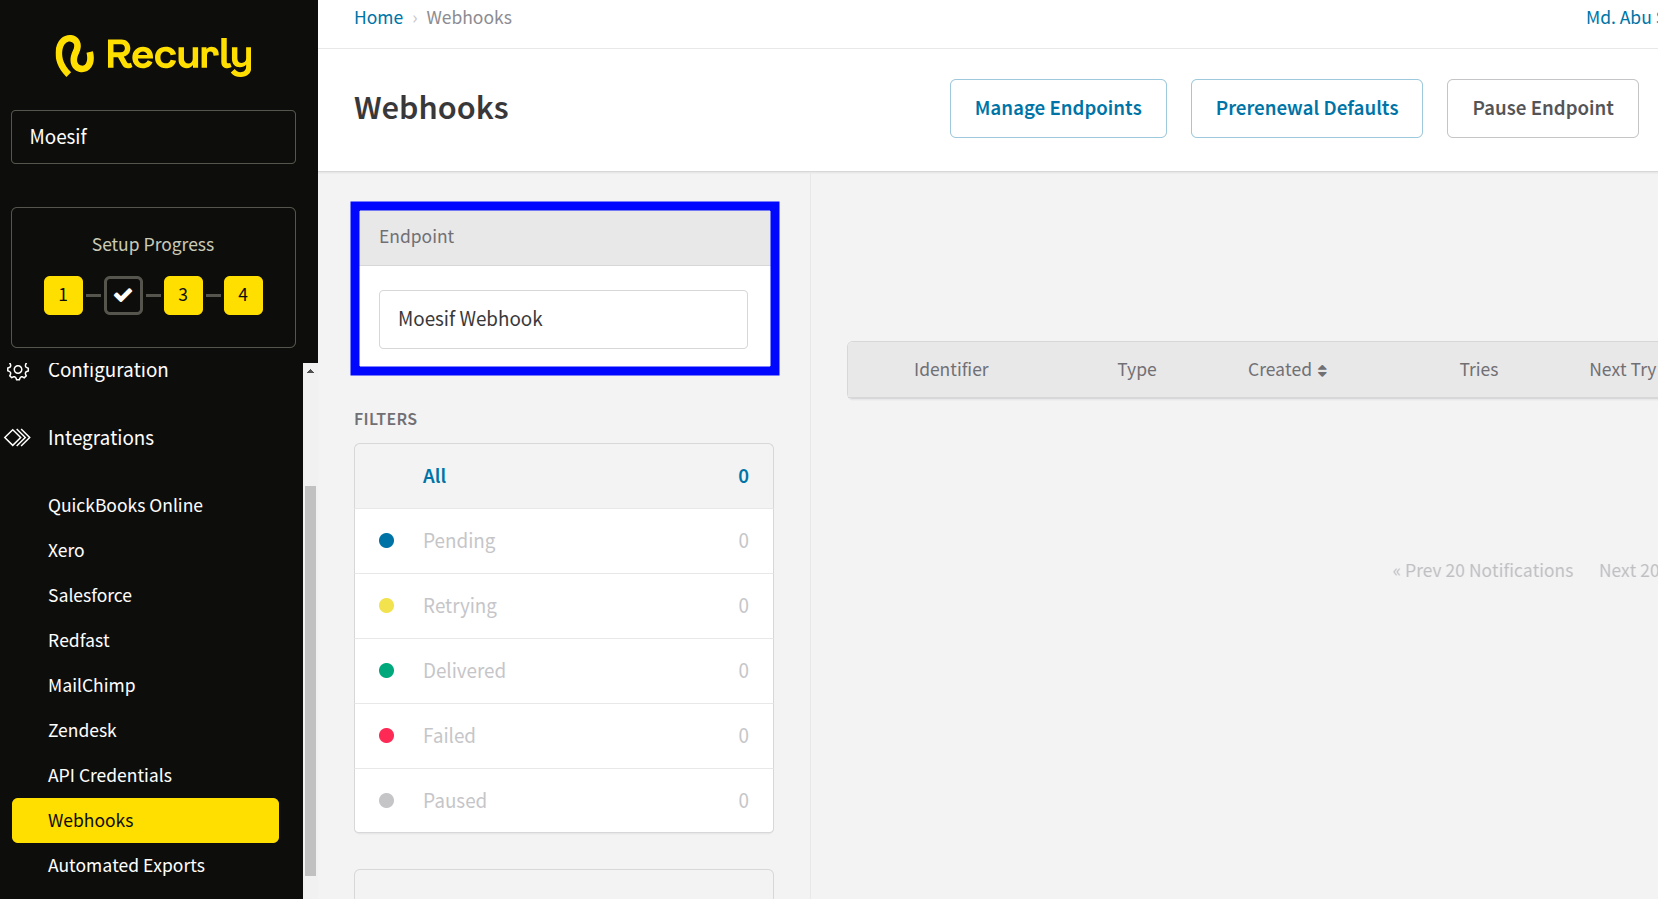
The webhook you’ve added appears in the Webhooks screen in Recurly.
Step 4: Plugging the Recurly API Details Into Moesif
Next, you must add the Recurly API key to Moesif.
Moesif supports Recurly API version 3 or higher (v2019-10-10, v2021-02-25, or higher).
To add your Recurly API key to Moesif, follow these steps:
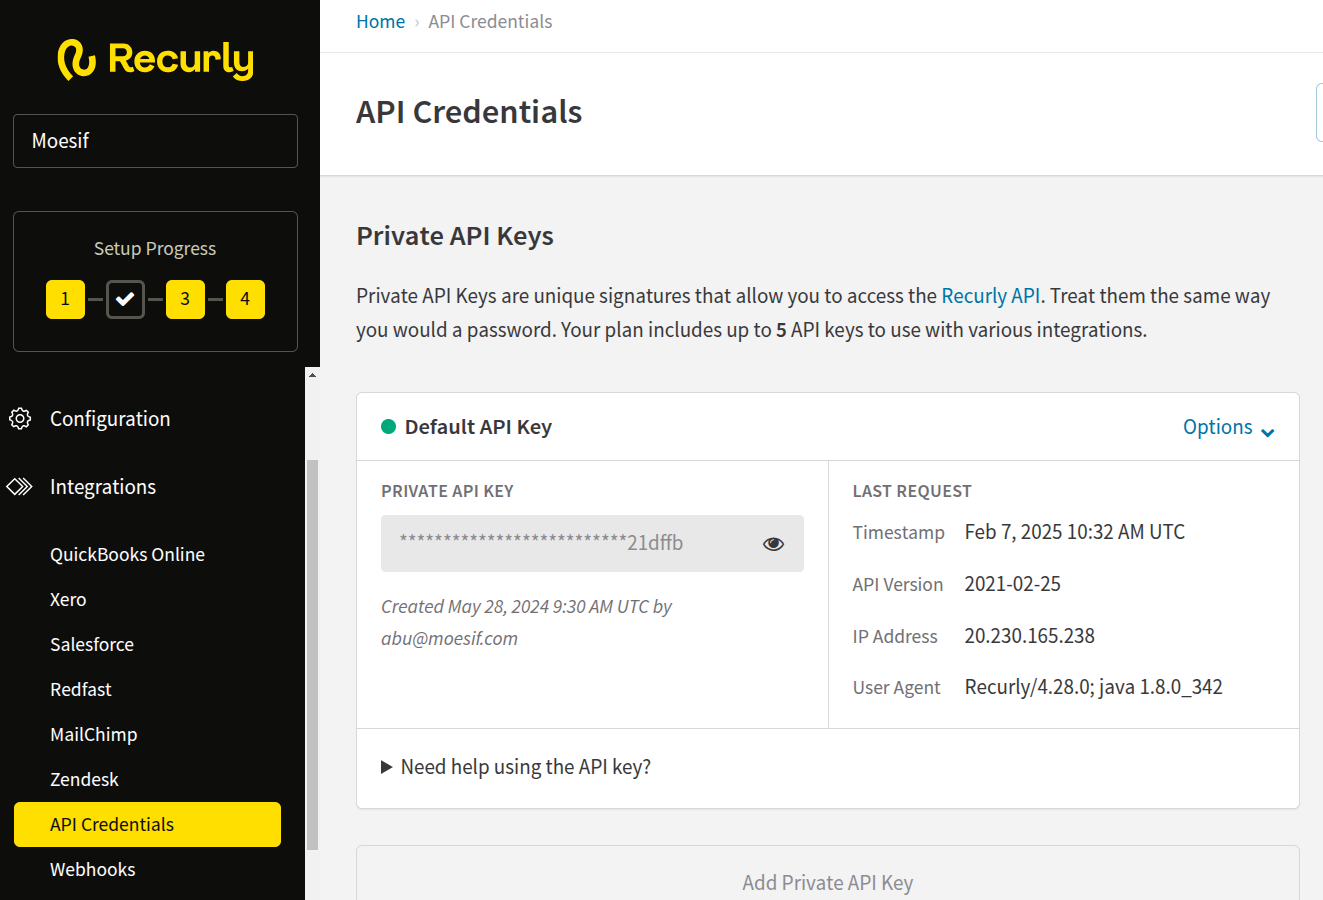
- Select Integrations and then select API Credentials in the navigation pane.
- Copy the API key from the PRIVATE API KEY field.
![Example]()
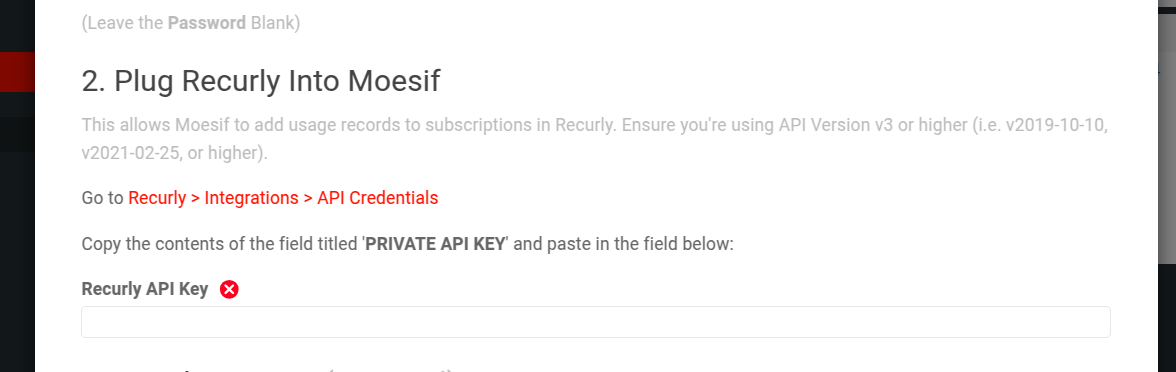
- Paste the API key in the Recurly API Key field of the Recurly configuration dialog in Moesif.
![Example]()
After you finish, select Save in the Recurly configuration dialog.
At this point, your Recurly integration is complete in Moesif and you can begin to use it.
Optionally, you have the ability to customize the customer ID source in Moesif as well in the Set Id Mapping section of the configuration screen. The default should work fine for most purposes but if you do need to customize it, it will allow you to specify how to map the Recurly Subscription and Account fields to the Company ID and User ID in Moesif.
Step 5: Configuring the Billing Parameters in Moesif
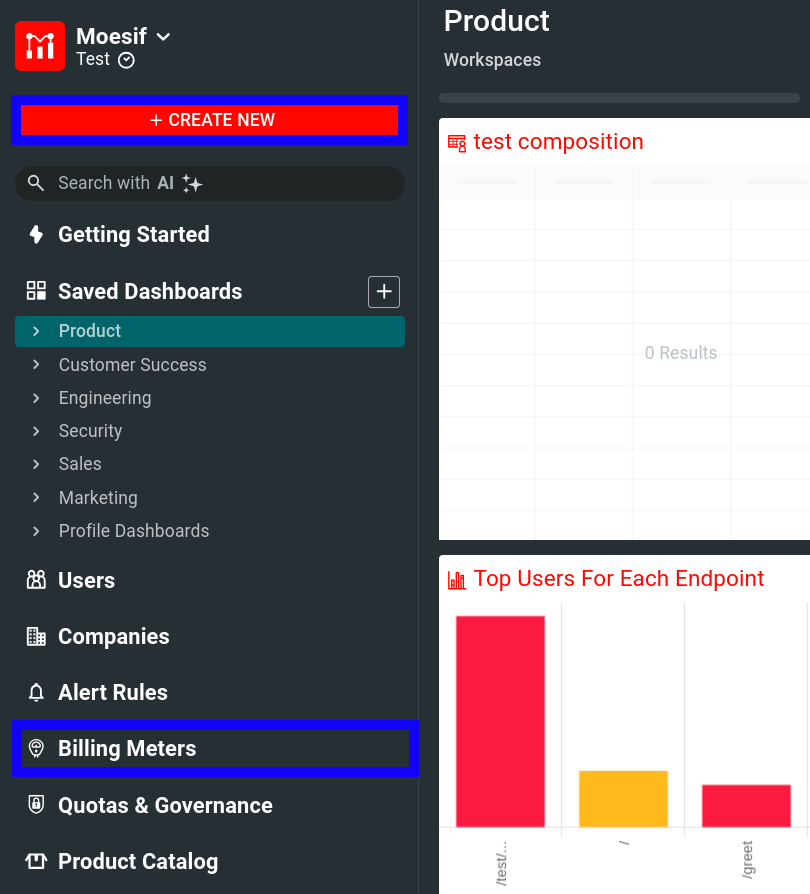
To create a new Billing Meter, select Billing Meters menu item in the navigation menu and then select + Add Billing Meter. Alternatively, select + Create New in the navigation menu and then select Billing Meter from the API Monetization section.
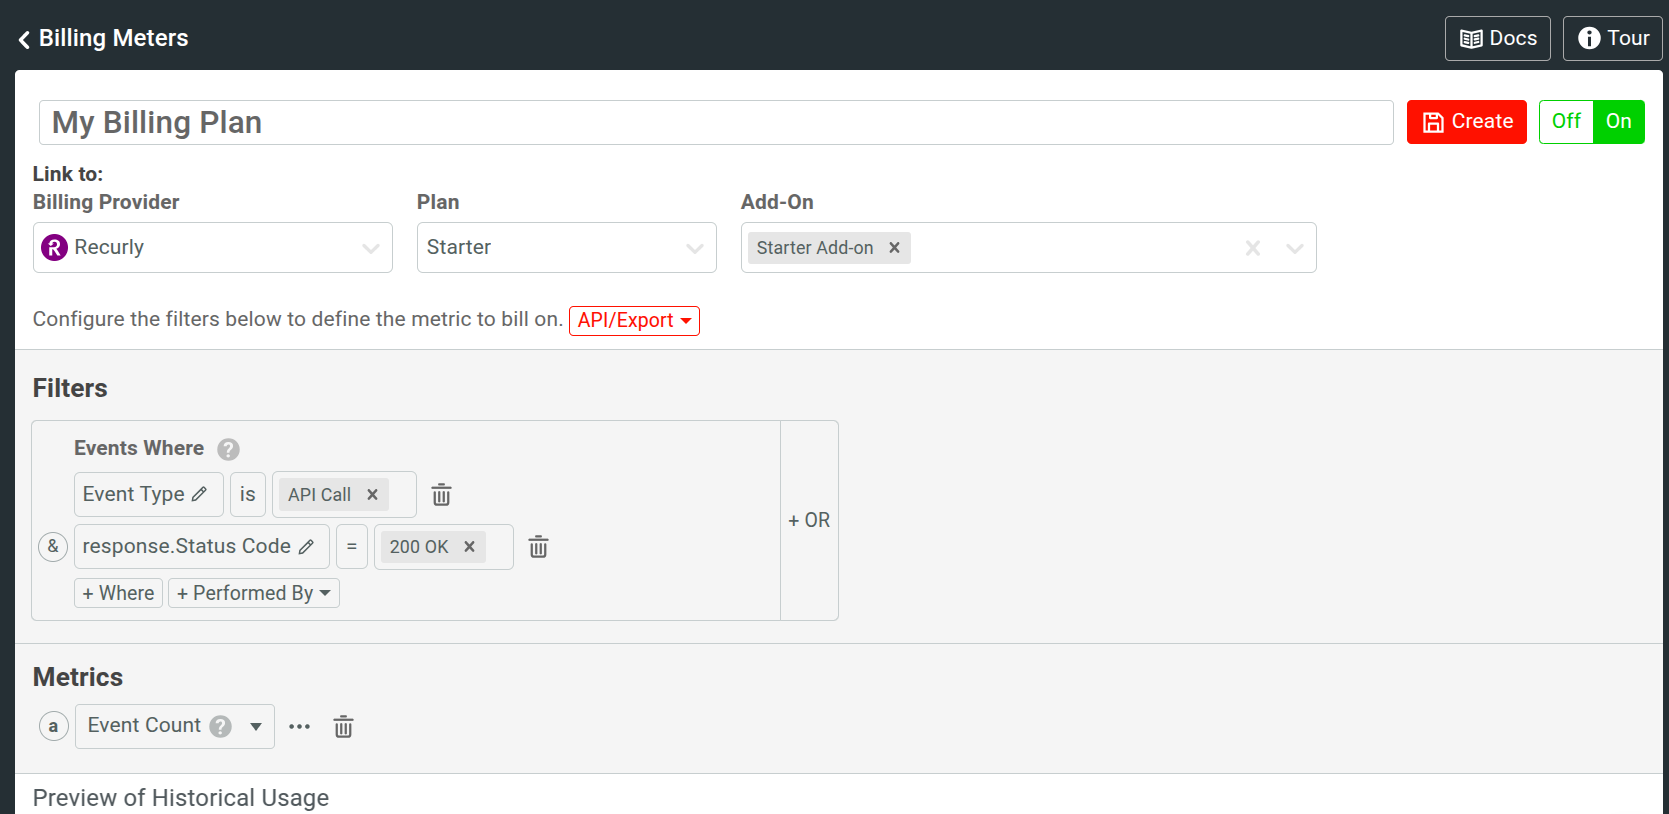
Once on the Add Billing Meter screen, you’ll add in:
- Billing meter name
- Billing provider info
- Add the filter to specify what events to bill upon
In the below example I have set up a billing plan called “My Billing Plan” which uses Recurly as my billing provider. I’ve also decided to bill on any API call which has a response of 200 OK.
Once you have your details dialed in, Moesif shows a tabular representation of company usage according to the Billing Meter. Although billing will only happen going forward, you will be able to see historically how your Billing Meter with its filters is working with existing data. This can help to make sure, especially with more complex filtering, that you have everything configured the way you require it.
Step 6: Activating the Billing Meter
Our final step in monetization is to save and activate the billing meter. To do this we simply make sure that the billing meter’s On | Off toggle toggle is turned on. Then select Create to finish creating your meter.
Note that once a billing meter is created, the criteria for filtering can not be changed nor the billing provider details. Only the name can be changed as well as the status of the billing meter can be toggled on and off. This is for compliance and auditing purposes. Billing meters can also not be deleted but can be archived if no longer in use.
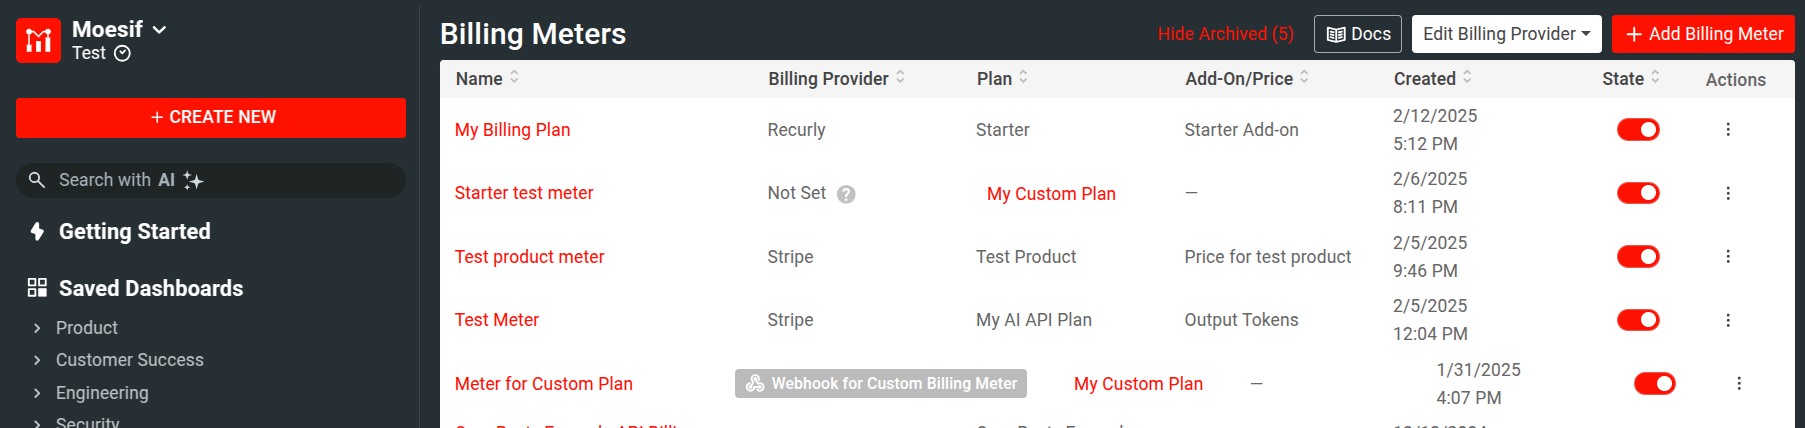
We should now see our new billing meter appear back on the Billing Meters home page.
Now, we have successfully created a billing meter that will begin to send usage data to Recurly. This integration is possible in a matter of minutes with no code required.